How to Add Google Ads Remarketing Tag to a Website with Google Tag Manager

Welcome to our Zen Digital Toolkit, a place where we break things down into simple, actionable steps that you can use in your daily marketing efforts.
In this series we'll guide you with practical roadmaps that will bring calm and clarity to your marketing journey. Whether you’re working on lead generation, digital campaigns, or setting up your ads, these tips will help you stay on track.
What is a Google Ads Remarketing Tag and Why Is It Important?
The Google Ads Remarketing Tag is a piece of code you add to your website that allows you to track visitors and show targeted ads to them after they leave your site. It plays a crucial role in bringing back potential customers by serving personalized ads across various platforms, reminding them of your products or services.
By adding this tag, you can boost engagement, increase conversion rates, and make the most out of your advertising budget by staying top of mind with your audience.
Now, let’s walk through the process of setting up the tag using Google Tag Manager..
Steps for Configuring Google Ads Remarketing Tag on Your Website
Step 1: Get Your Google Ads Tag Code
Before starting, make sure you are using a self-hosted WordPress site (WordPress.org) as this method won’t work on WordPress.com.
Log into your Google Ads account.
- Navigate to Audience Manager by clicking on the "Tools" icon and selecting Audience Manager under Shared Library.
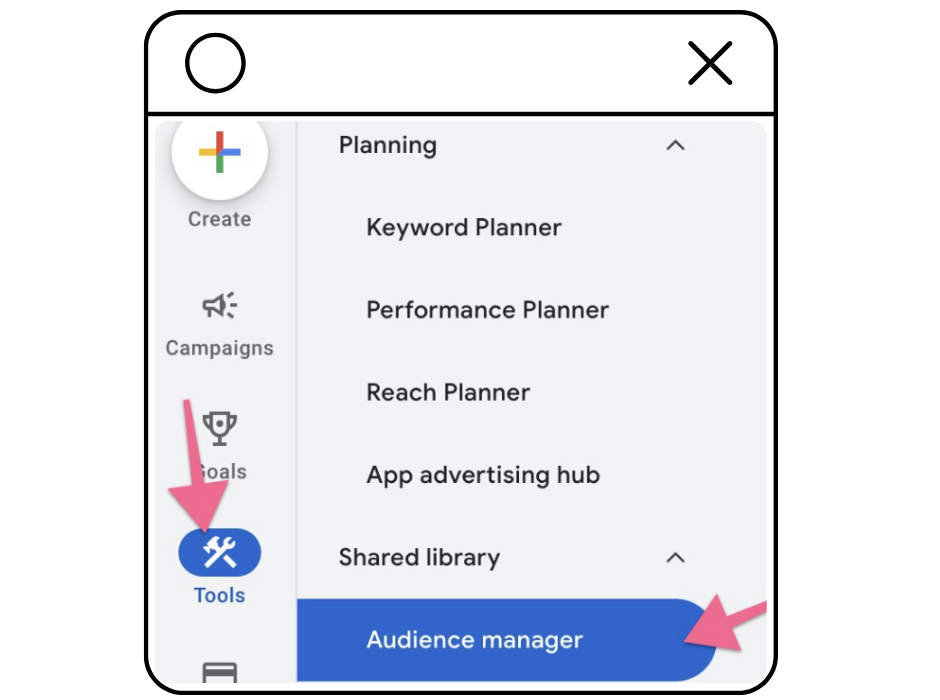
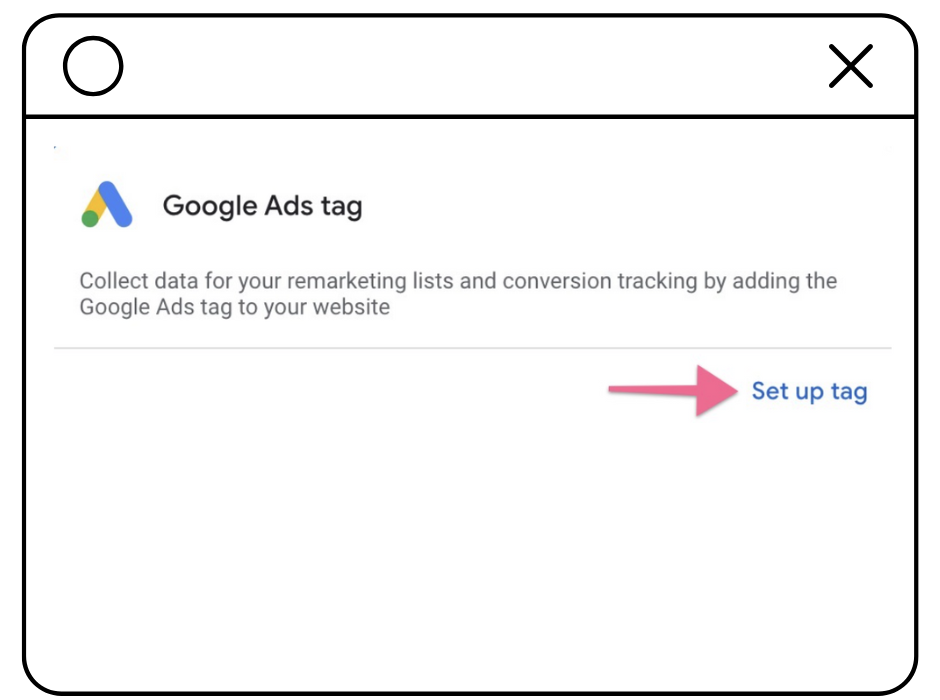
- In Audience Manager, click Your Data Sources and then select Set up tag under Google Ads Tag.
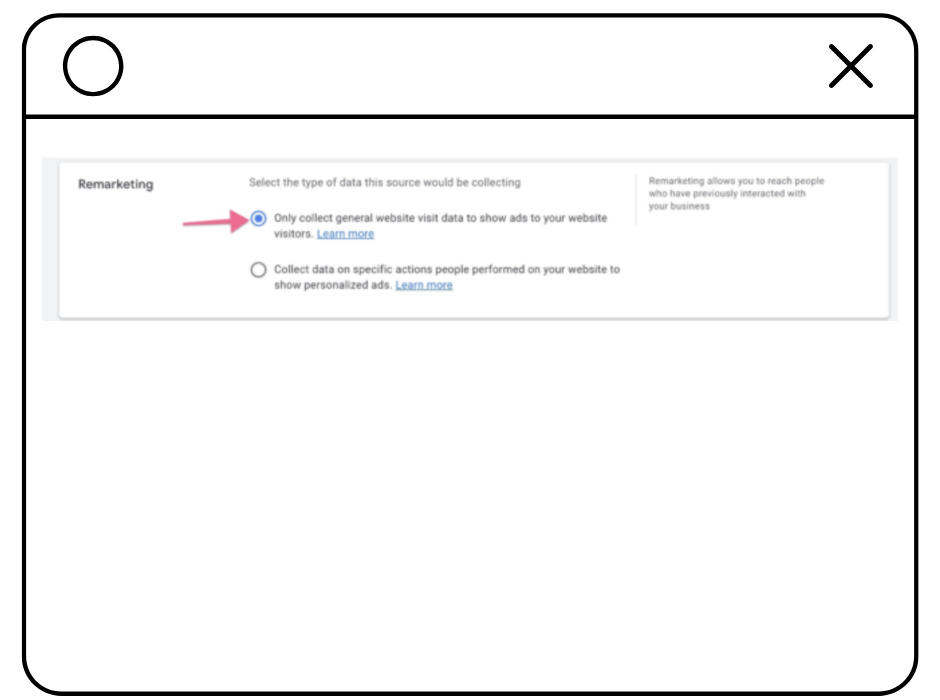
- Under Remarketing, choose the option to collect general website visit data.
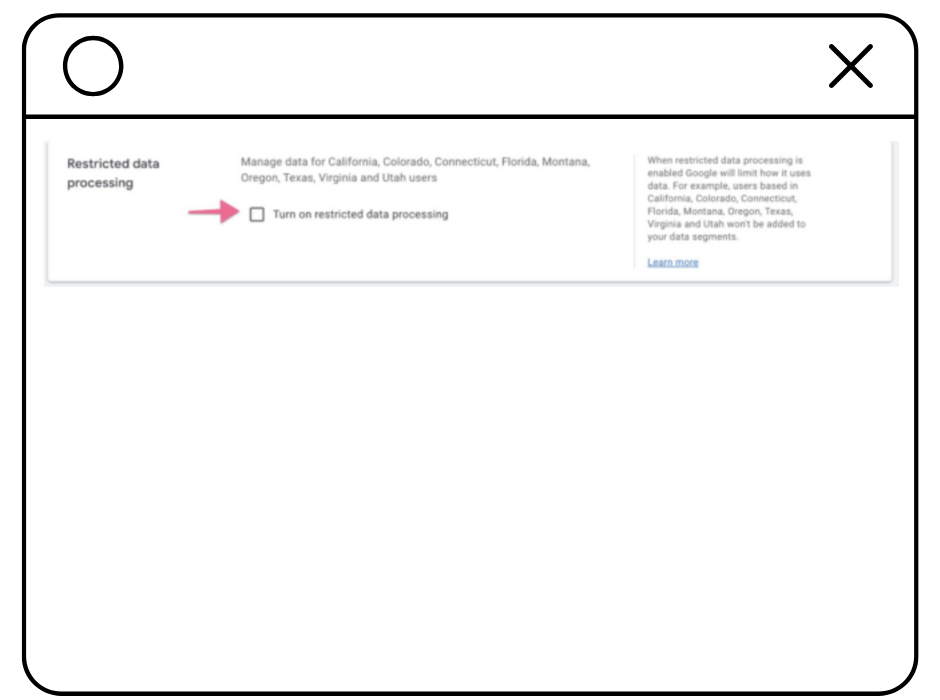
- If you have users in states like California or Virginia, you can choose to restrict data processing.
- Click Save and continue.
- Under Tag setup, select Use Google Tag Manager.
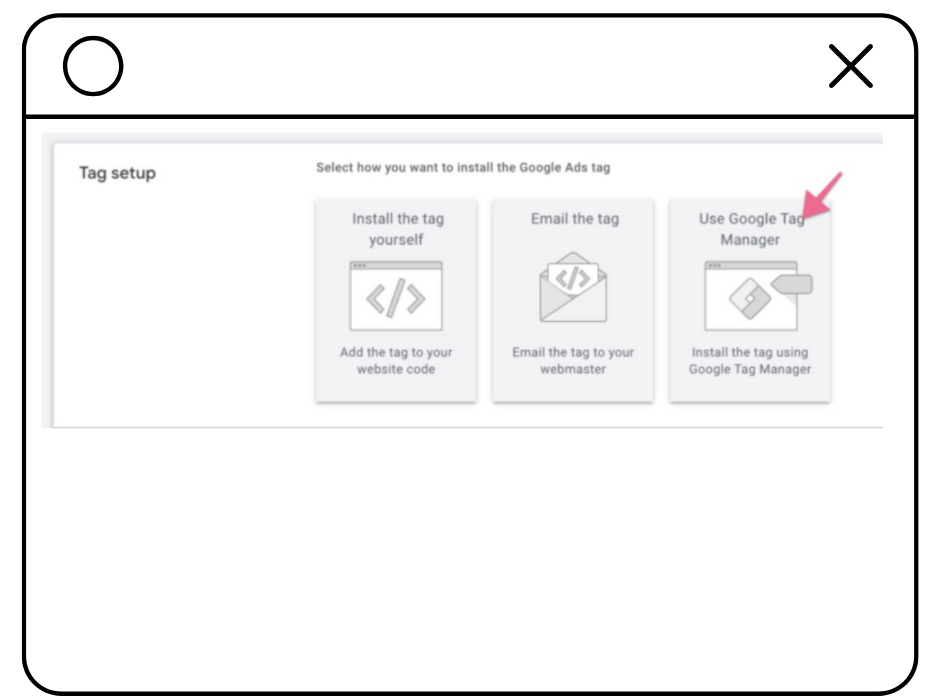
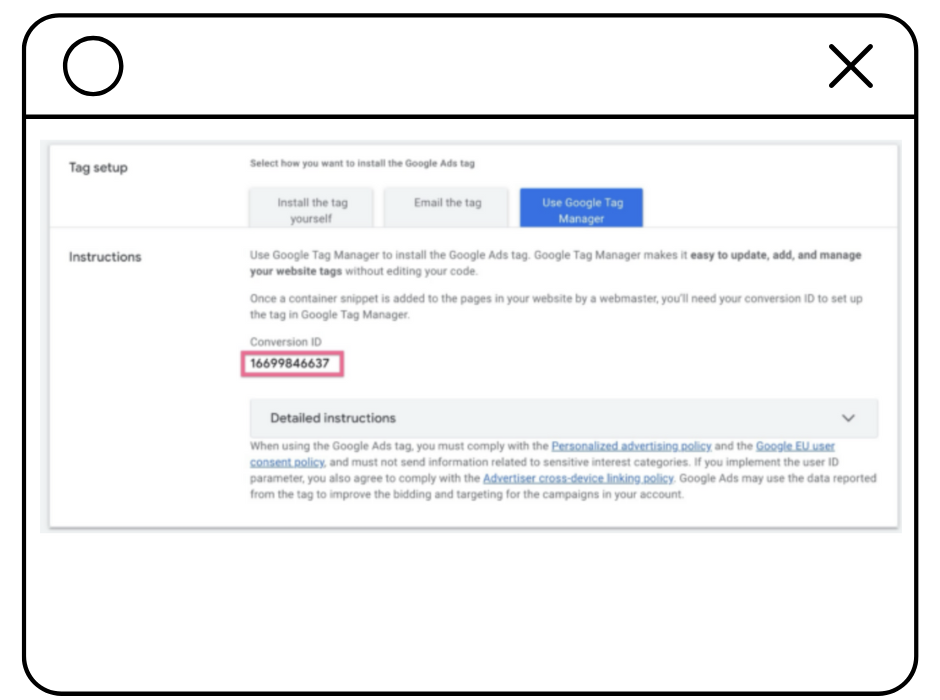
- Copy your Conversion ID and click Done.
Step 2: Add the Tag to Google Tag Manager
Go to Google Tag Manager and select your account.
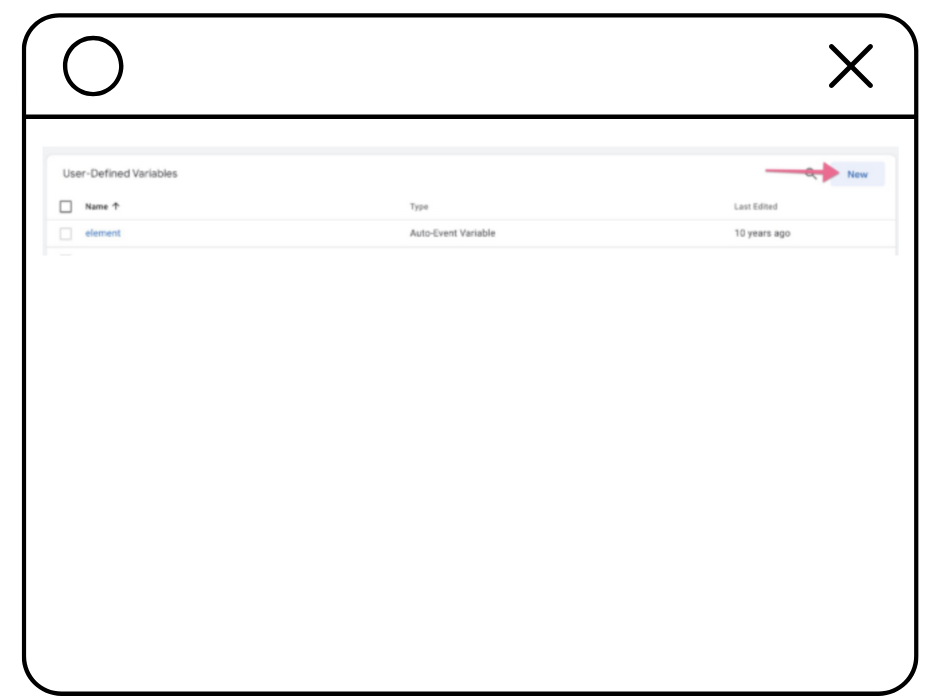
In your workspace, click on Variables and then New under User-Defined Variables.
Rename the variable by clicking on the "Untitled Virable" text.
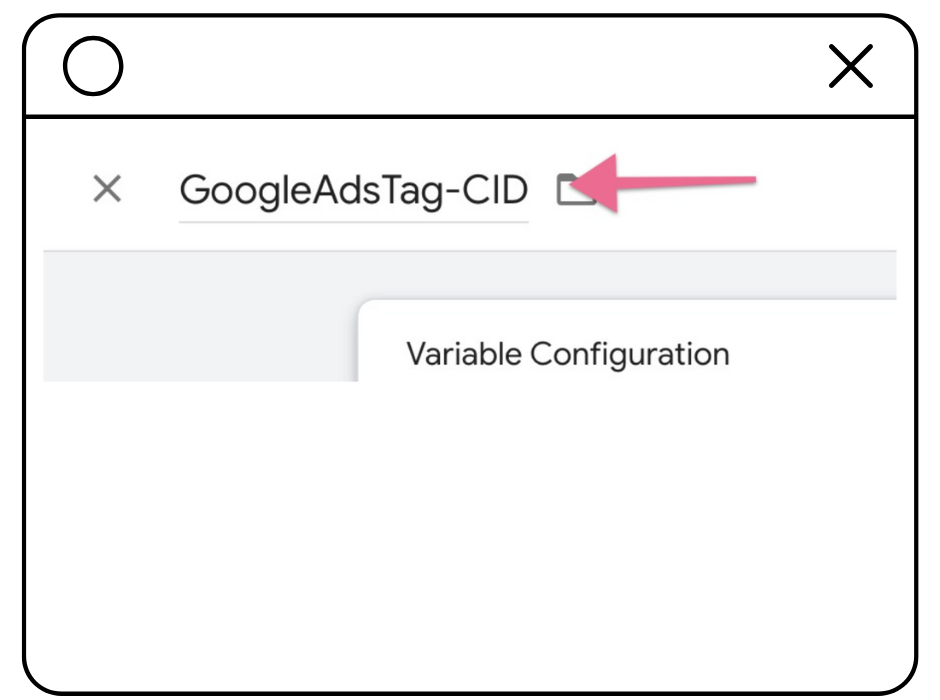
- Click on ‘Choose a variable type to begin set-up.’ Select Constant from the list.
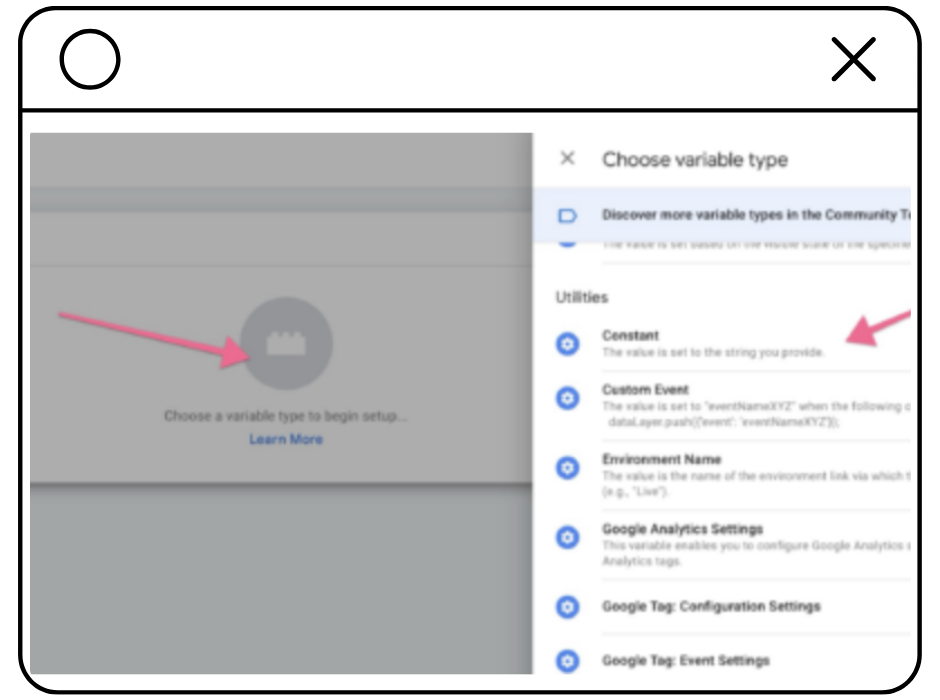
-
Paste your Conversion ID into the Value field and click Save.
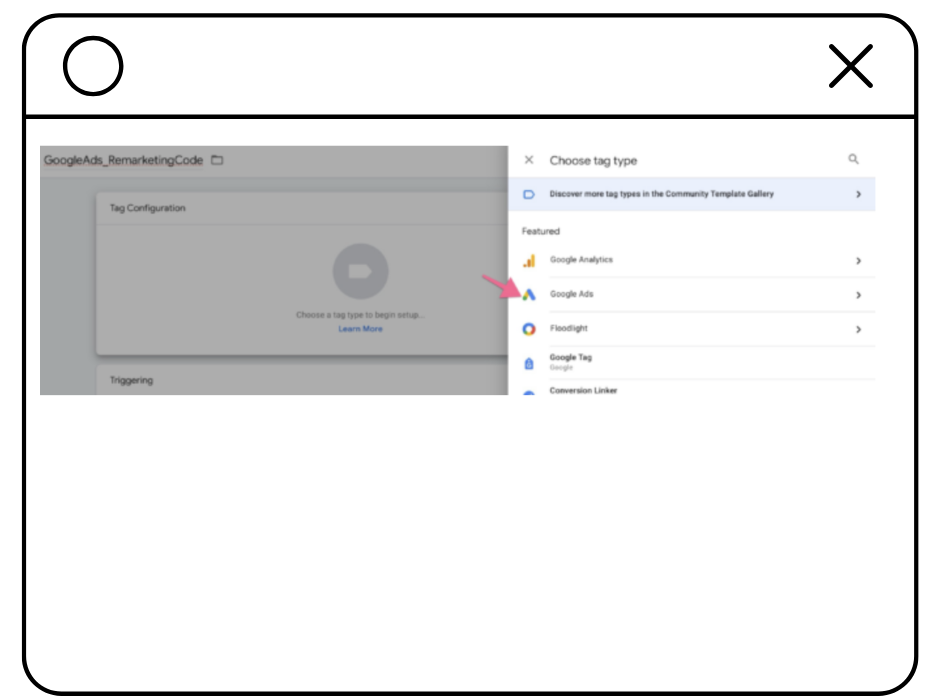
Go to Tags and click New. Name your tag. Use a clear naming convention (e.g., GoogleAds_RemarketingTag).
In Tag configuration, select Google Ads.
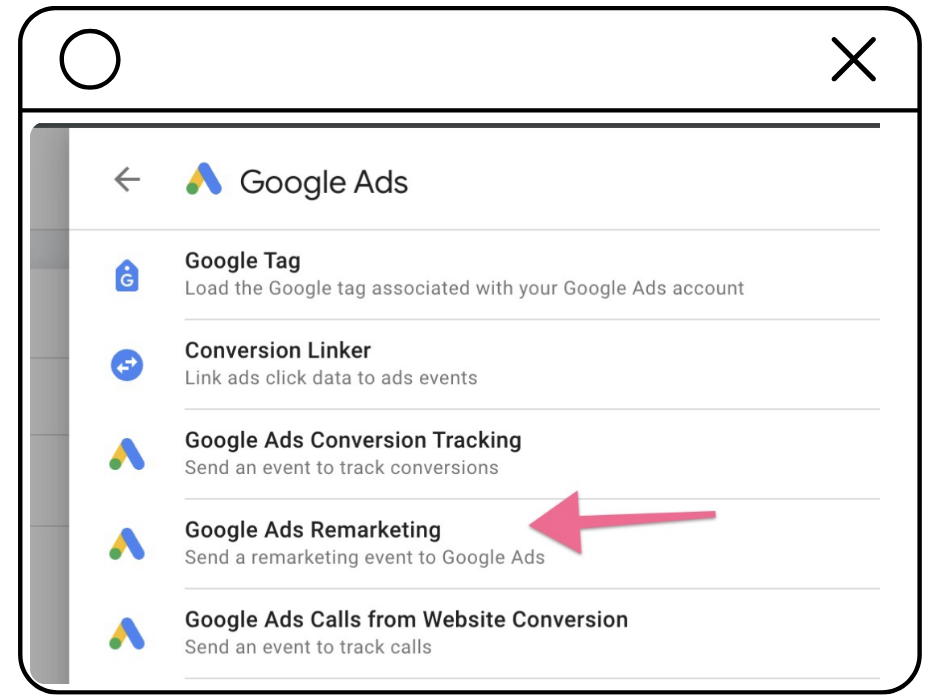
Select Google Ads Remarketing.
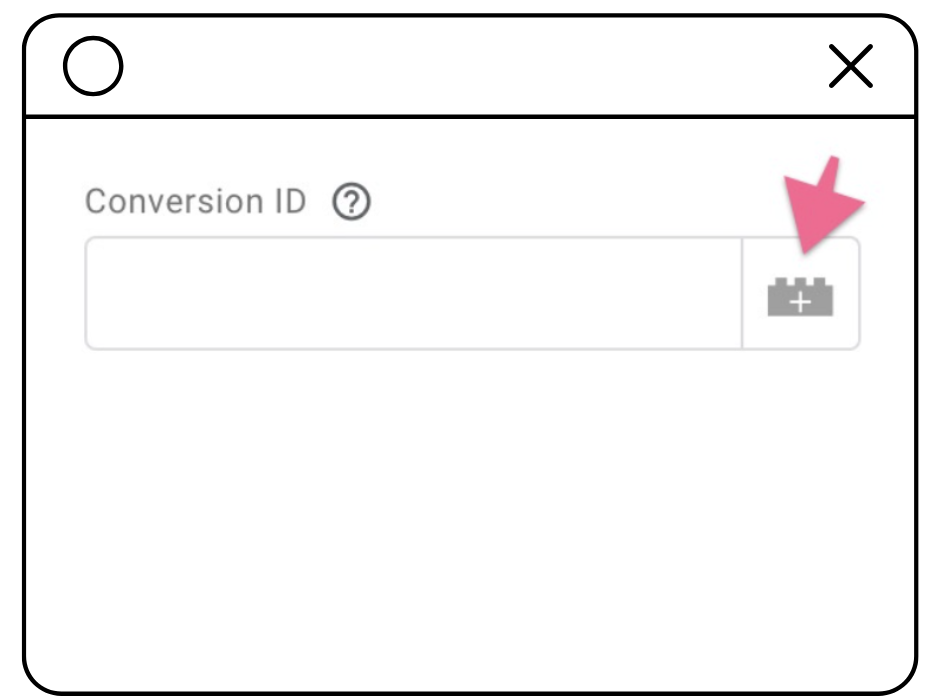
In the Conversion ID field, select the variable you created.
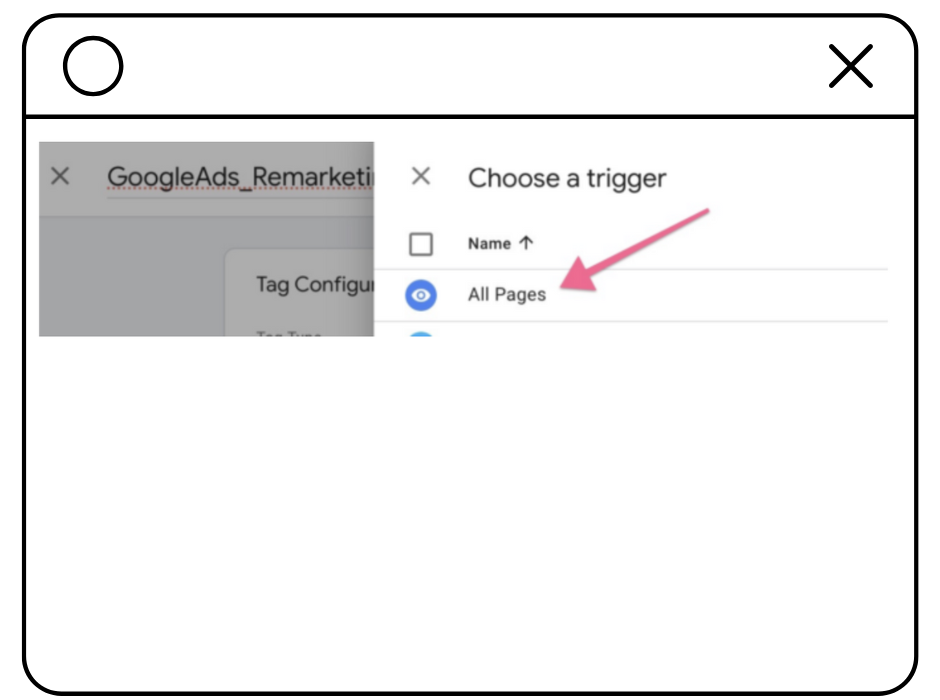
Under Triggering, select All Pages.
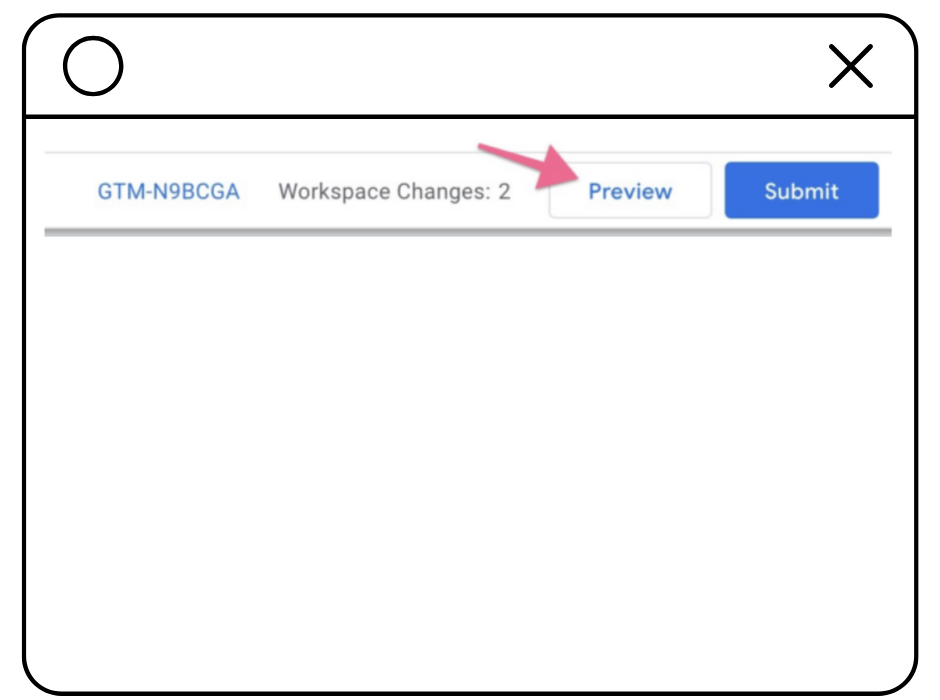
Save your tag and click Submit to publish the changes.
Step 3: Verify Setup Using Preview Mode
In Google Tag Manager, click Preview in the top right.
-
Enter your website URL and click Connect in the Google Tag Assistant page that opens.

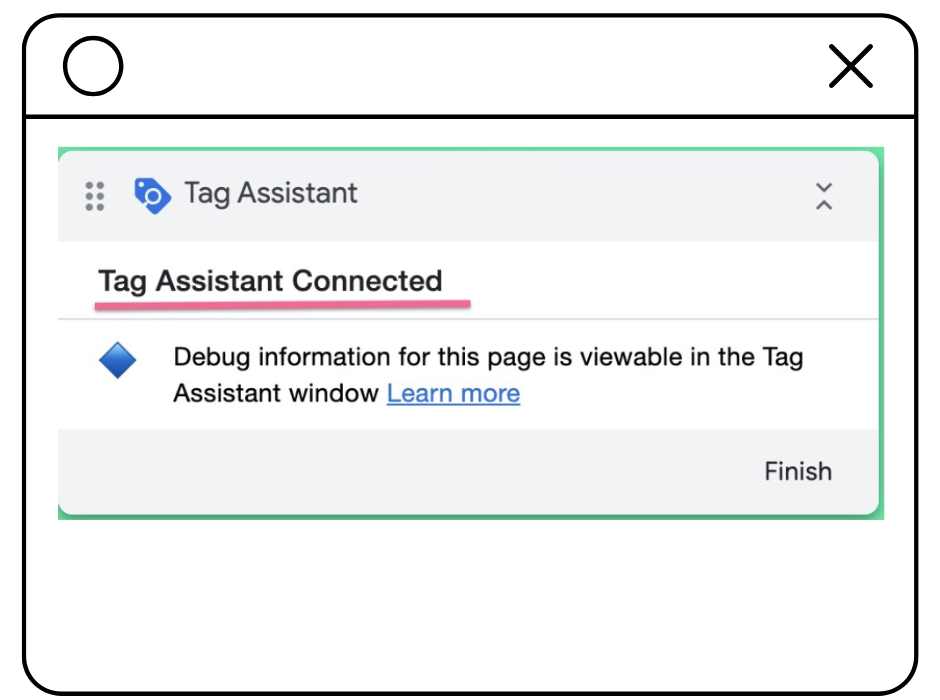
Your website will open in a new tab with the Tag Assistant notification in the bottom right.
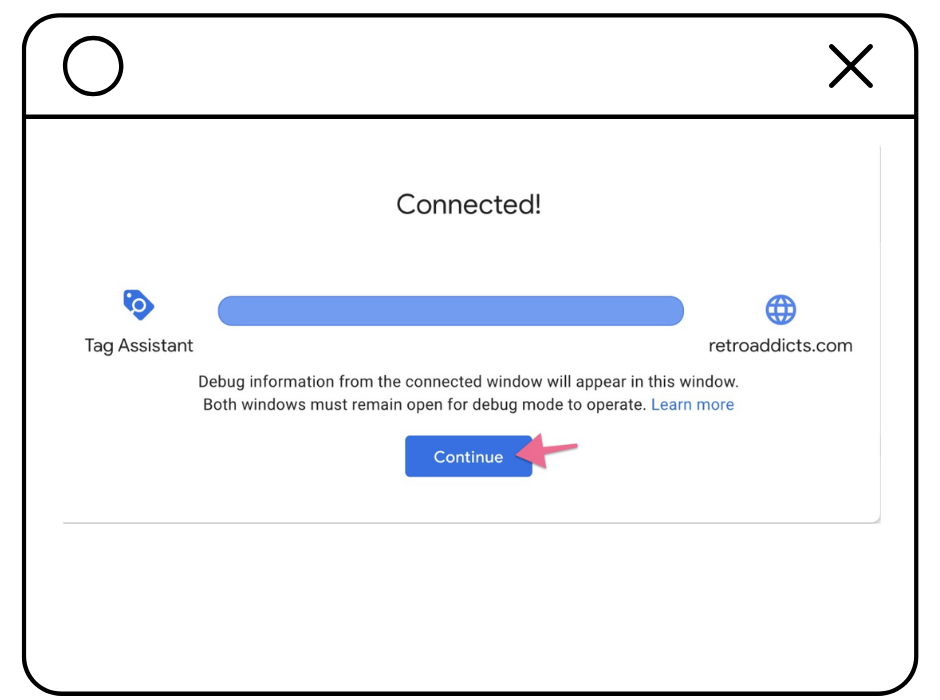
Go to the Tag Assistant tab on your browser. Click "Continue" on the popup.
Scroll down to the "Output" section where you will see the tag you just set up.
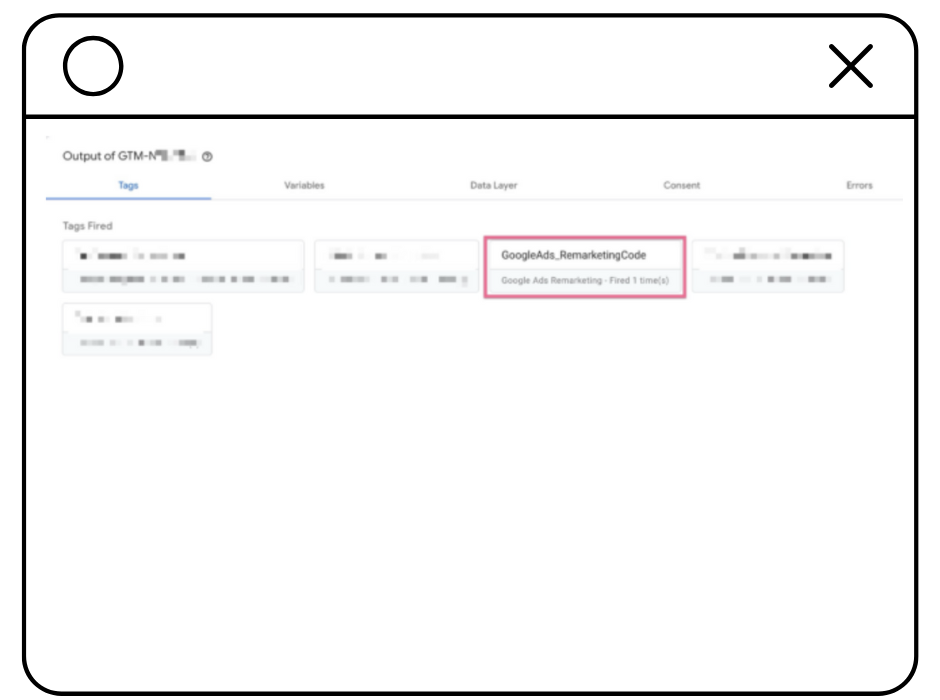
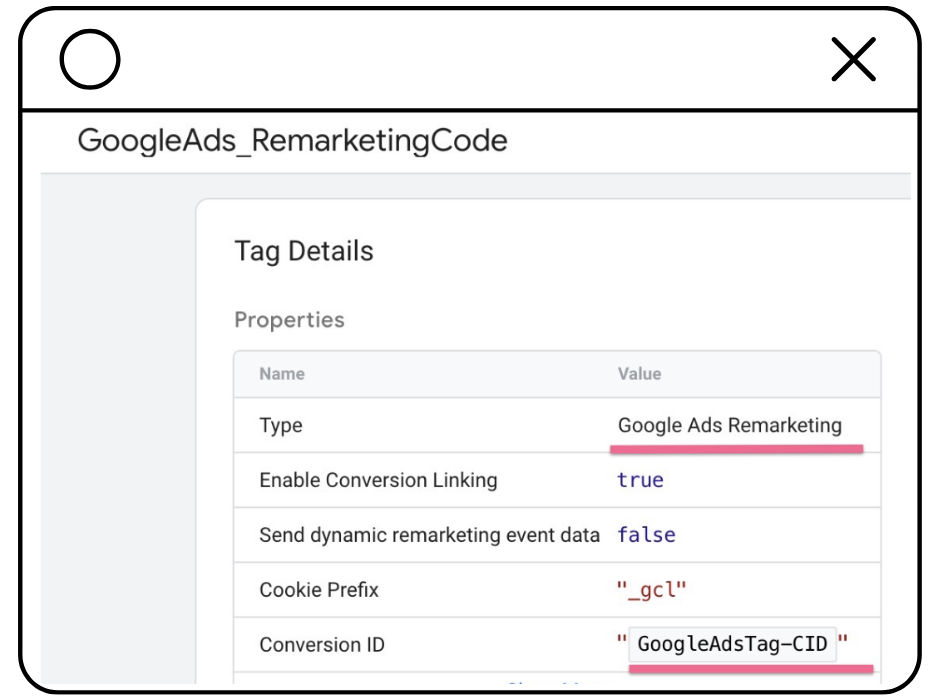
Click on the tag name to verify the tag configuration.
Remember, marketing success is about finding balance—between creativity and strategy, vision and execution.
Want help implementing Google Ads Remarketing or need advice on your overall marketing strategy?
Don’t hesitate to reach out. We're here to help you simplify the complexities of digital marketing.
Read the Next Chapter

How to Add Google Tag Manager to a WordPress Site in 4 Simple Steps

How to Install a Facebook Pixel on Your Website: A Step-by-Step Guide
How to Add a Facebook Pixel to a Shopify Store in 3 Simple Steps

How to Add Google Ads Remarketing Tag to a Website with Google Tag Manager

How to Set Up a Google Business Profile in 3 Simple Steps

How to Optimize a Google Business Profile Listing in 3 Steps

How to Advertise on Google Maps

How to set up TikTok Ads manager account in 3 steps
How to Pick the Right Bid Strategy for Your TikTok Campaign