How to Add a Facebook Pixel to a Shopify Store in 3 Simple Steps
Welcome to our Zen Digital Toolkit, a place where we break things down into simple, actionable steps that you can use in your daily marketing efforts.
In this series we'll guide you with practical roadmaps that will bring calm and clarity to your marketing journey. Whether you’re working on lead generation, digital campaigns, or setting up your ads, these tips will help you stay on track.
What is a Facebook Pixel and Why Is It Important?
Facebook Pixel is a game-changer for your Shopify store. It helps you track what visitors are doing on your site, so you can create smarter ads, build remarketing audiences, and boost your campaign results. By adding it to your store, you’ll get valuable insights into how people interact with your products and use that info to make better decisions, whether you’re looking to retarget shoppers or fine-tune your ad performance. It’s a must-have for anyone serious about taking their online advertising to the next level.
Steps to Configure the Facebook Pixel on Shopify
Step 1: Environment Setup
Before you start, make sure you’ve created or have access to your company’s Facebook Business Manager account.
- Install the Facebook Pixel Helper Chrome Extension to help you verify that the pixel is installed correctly later.
Step 2: Adding the Facebook Pixel to Shopify
Log in to Facebook.
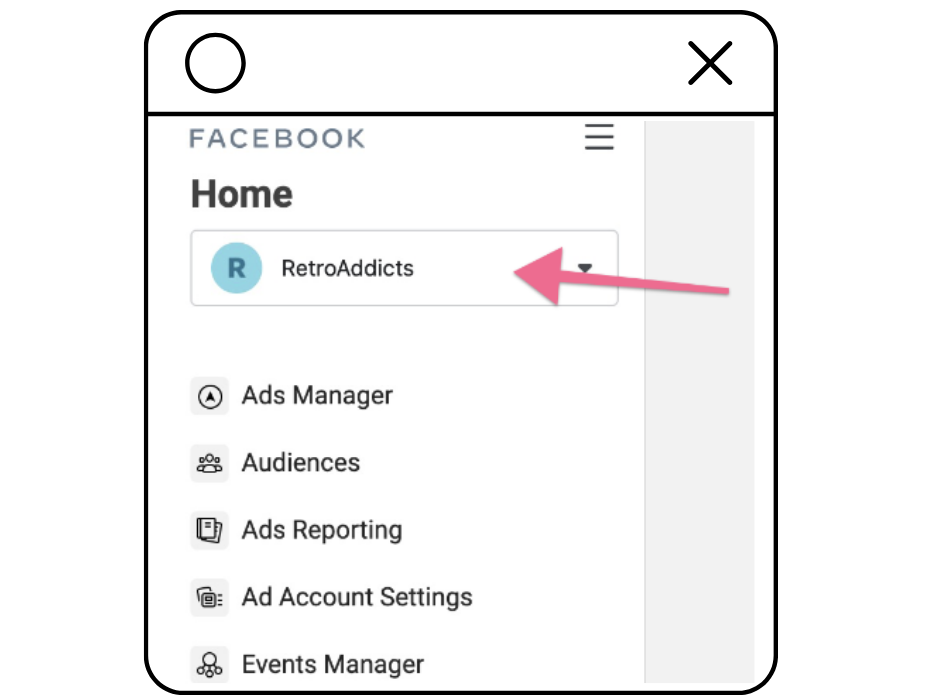
Head over to Facebook Business Manager and select your business.
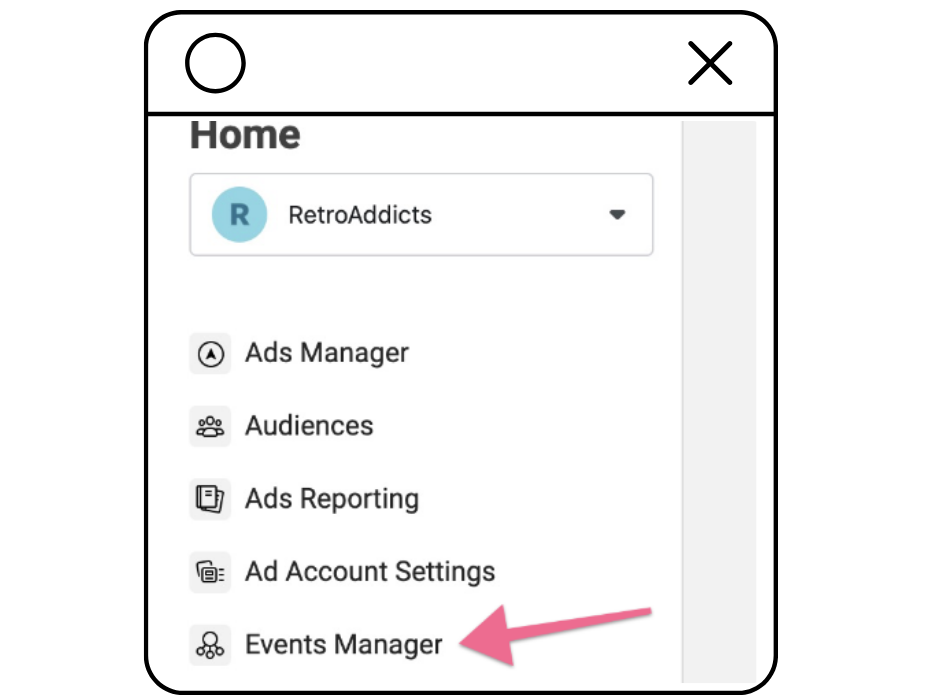
Click on “Events Manager” from the sidebar.
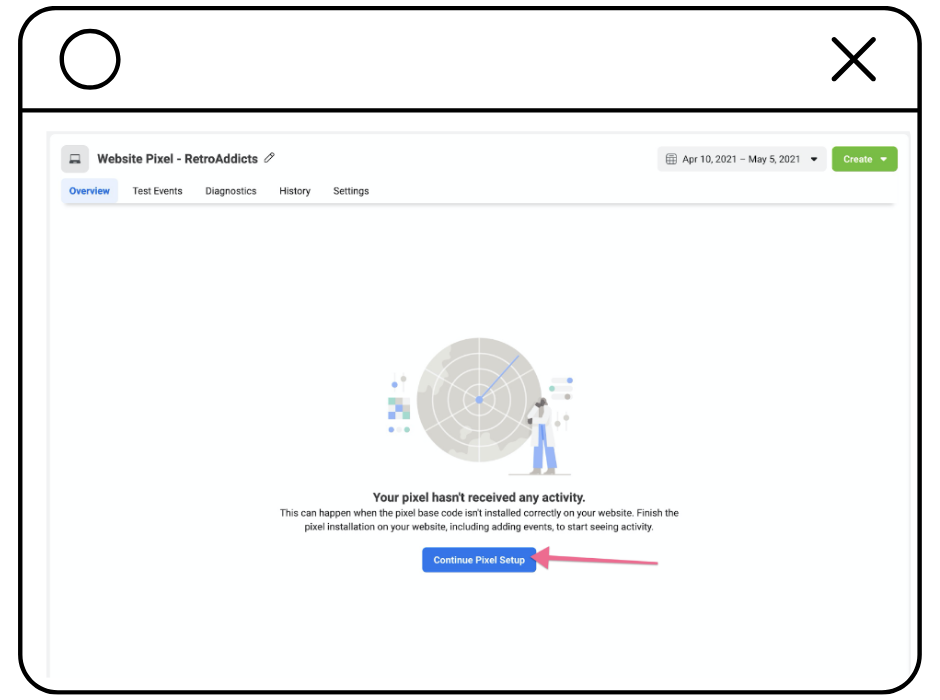
If a Pixel already exists, select it and click “Continue Pixel Setup.” and jump to Step 7.
- If this is your first time, click “Connect Data Sources”.
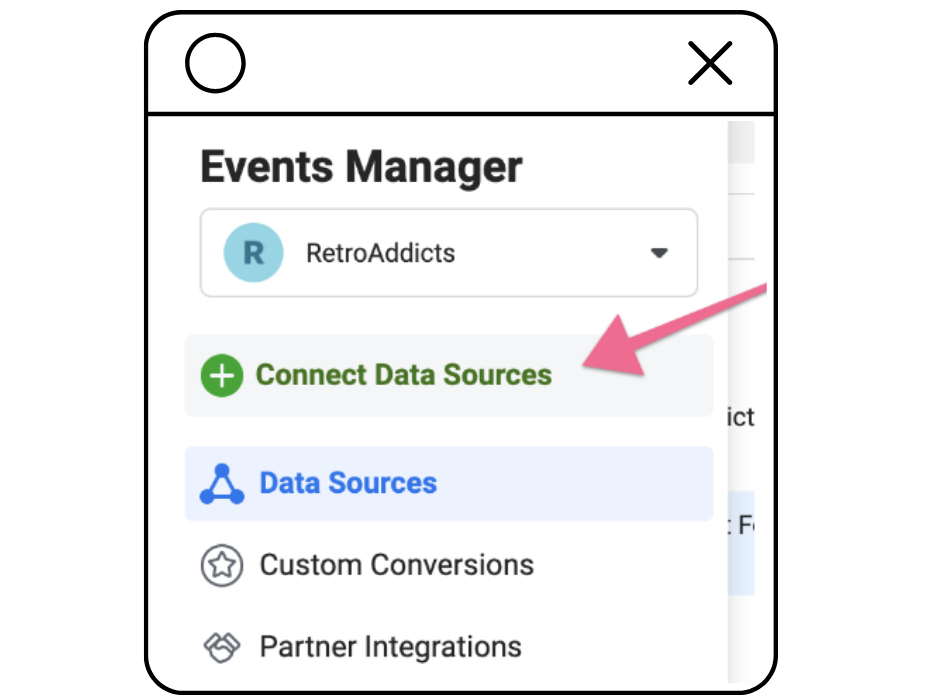
-
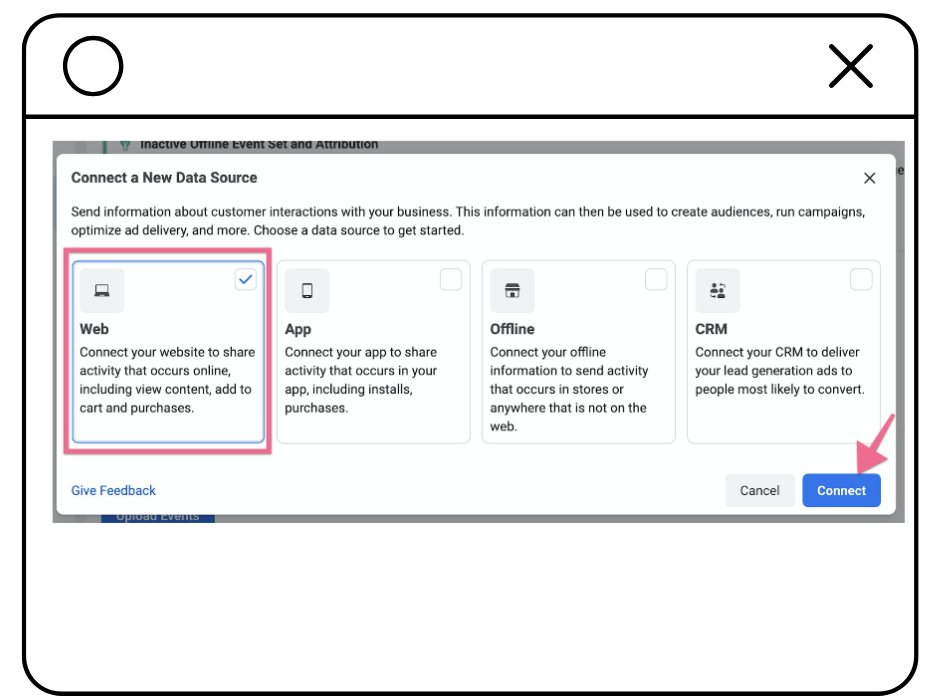
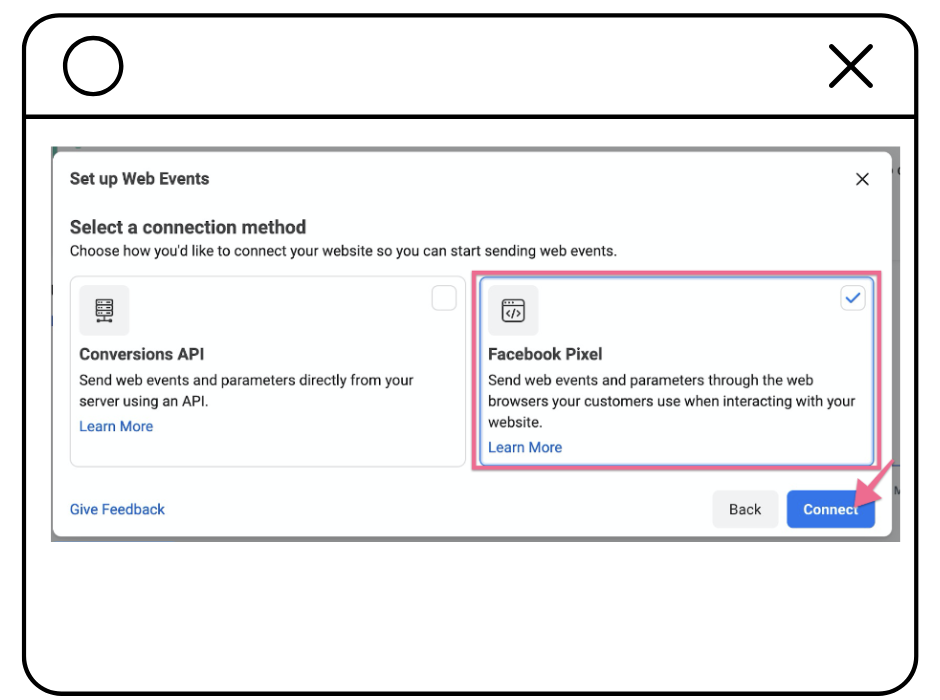
Select “Web” from the list, and click “Connect”.
Select “Facebook Pixel” from the list, and click “Connect”.
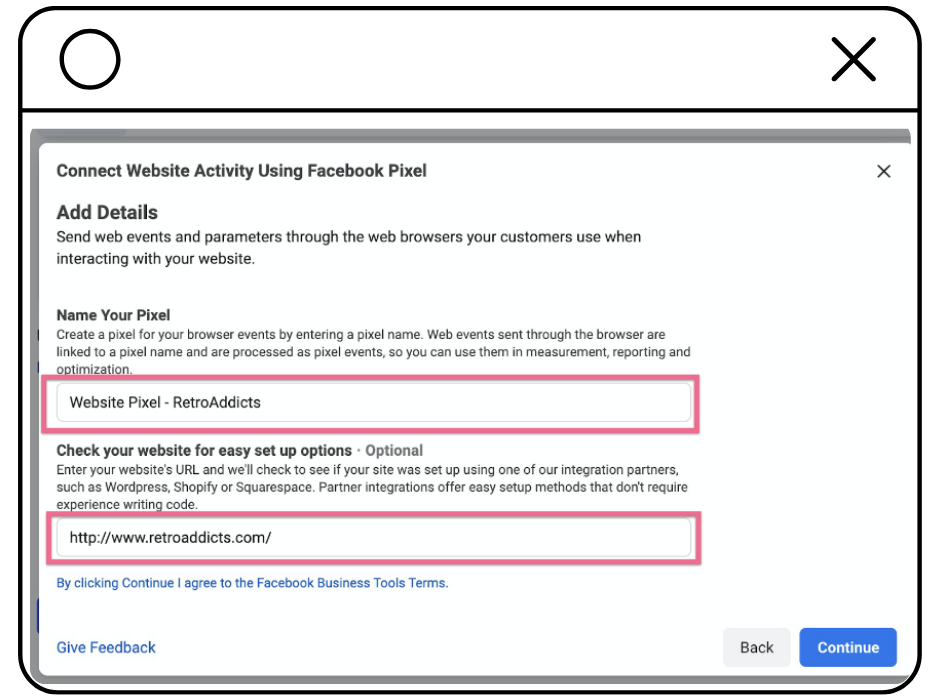
Name your Pixel and provide your website URL.
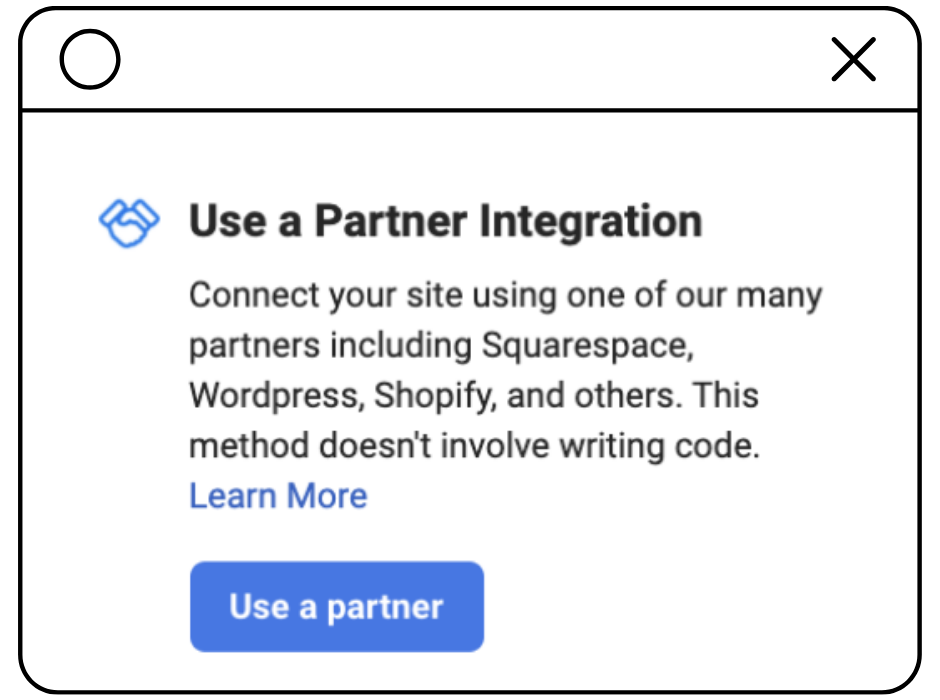
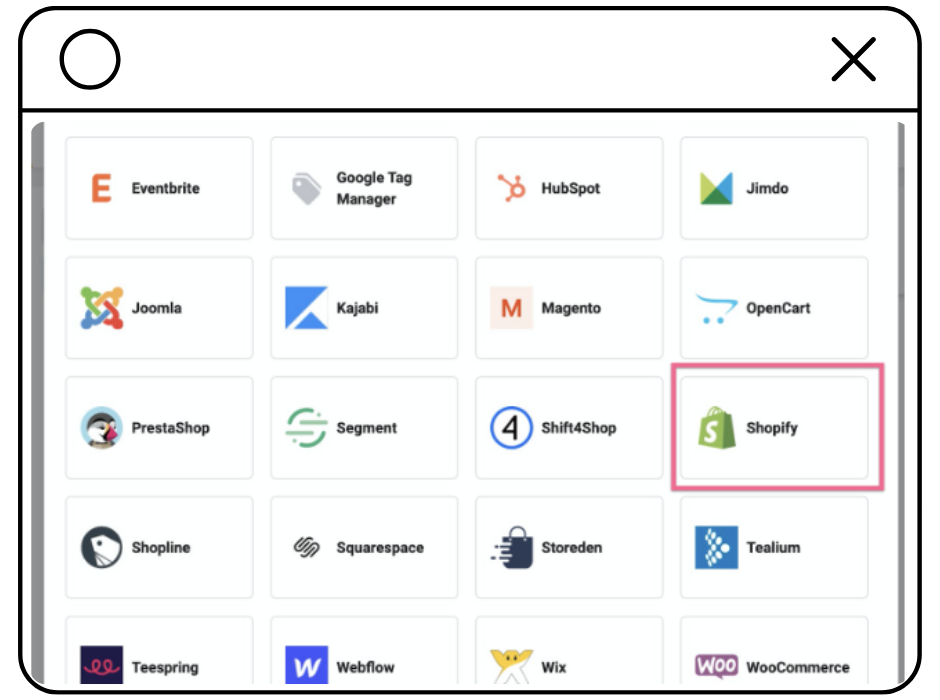
Select “Use a partner” and choose Shopify.
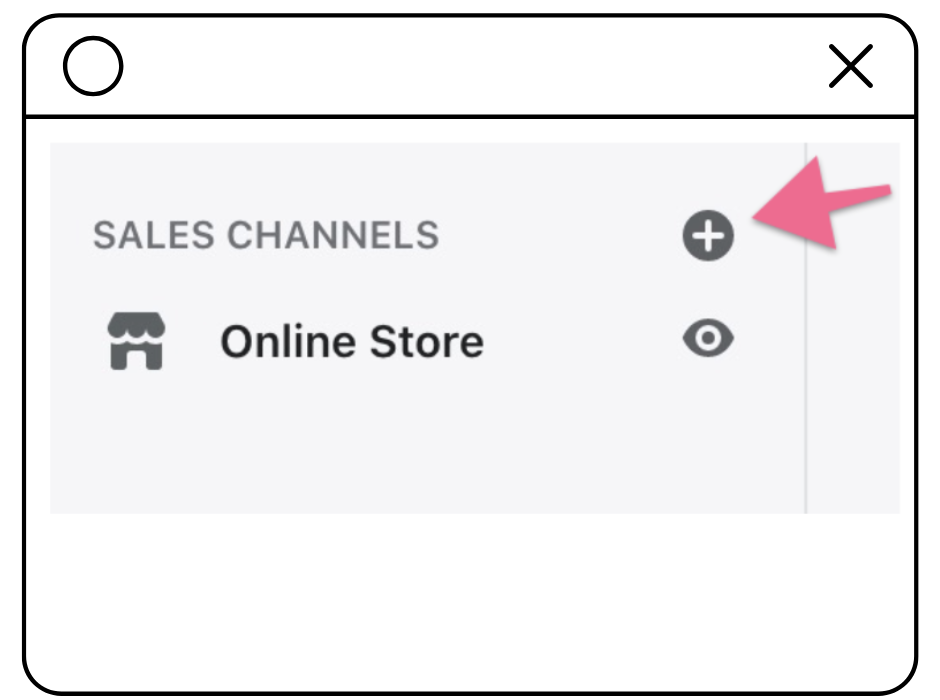
In a new tab, open your Shopify Admin panel and click the plus sign next to “Sales Channels.”
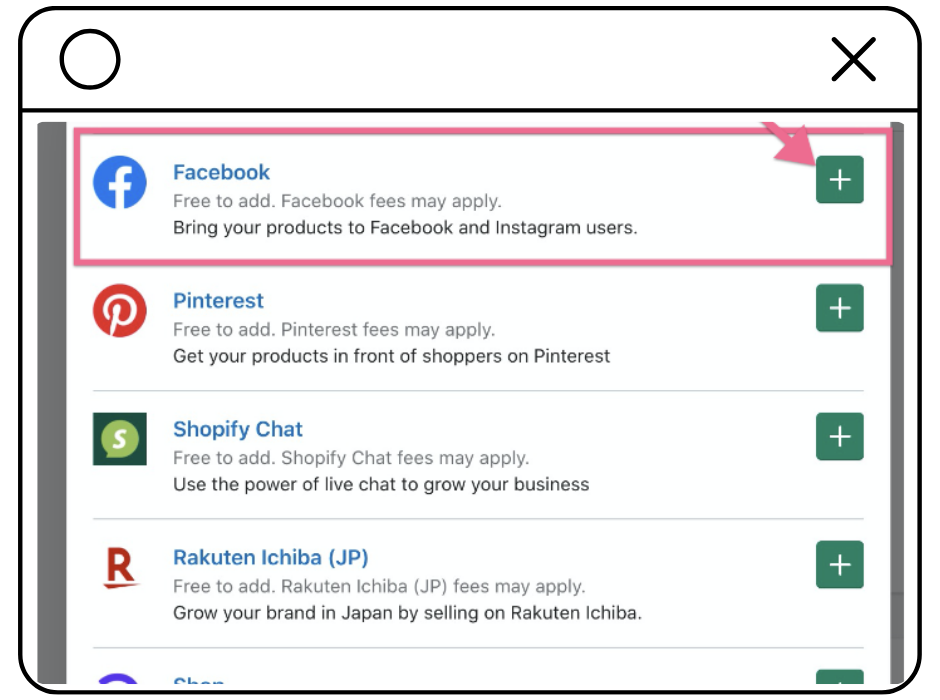
Find the Facebook channel and click the plus sign to install it.
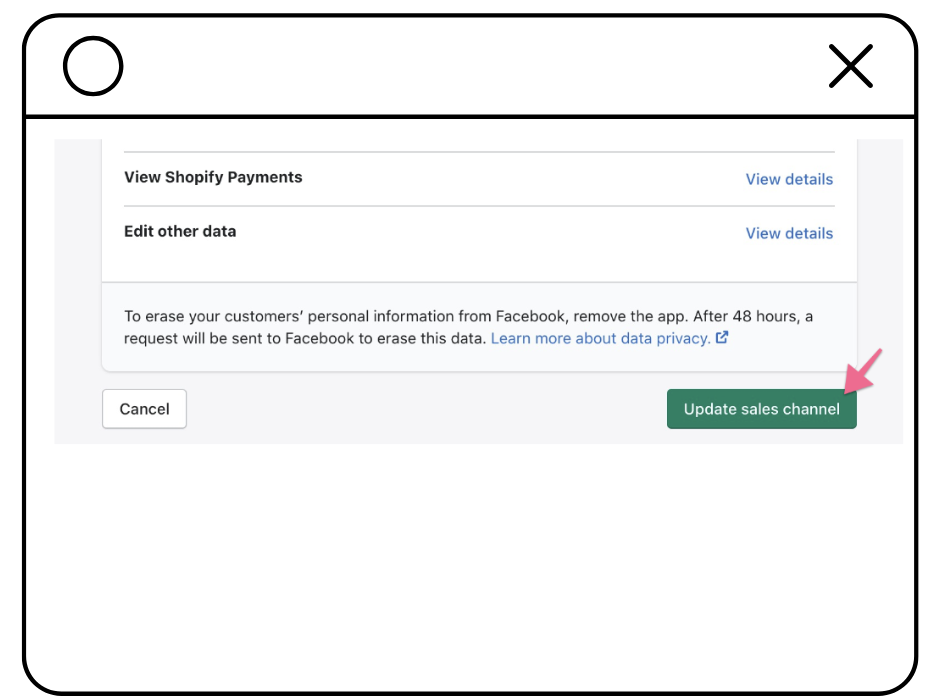
Update your Sales Channel permissions.
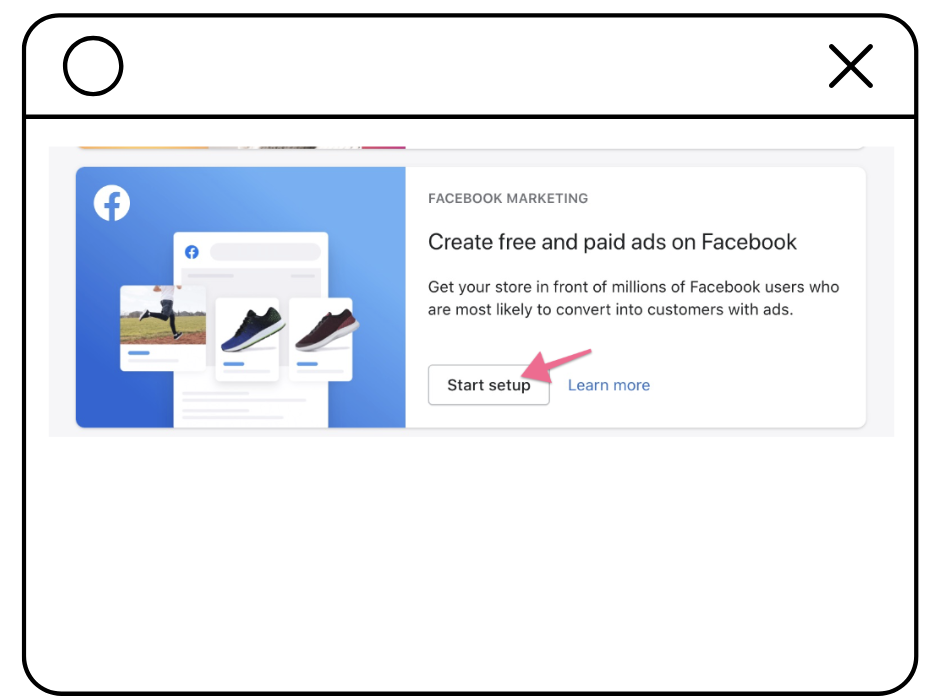
Under "Create free and paid ads on Facebook," click Start Setup.
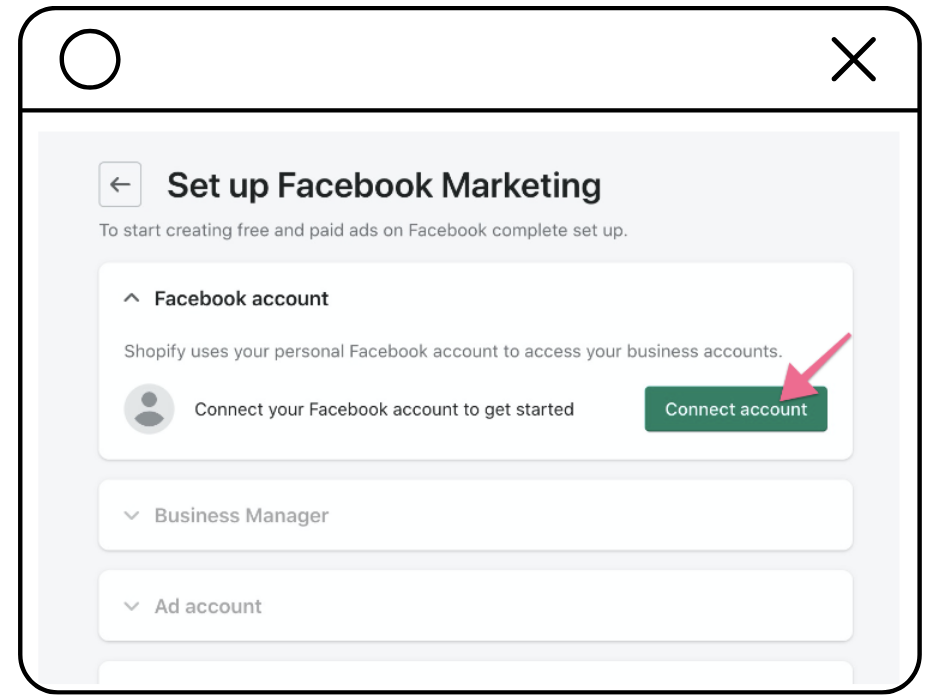
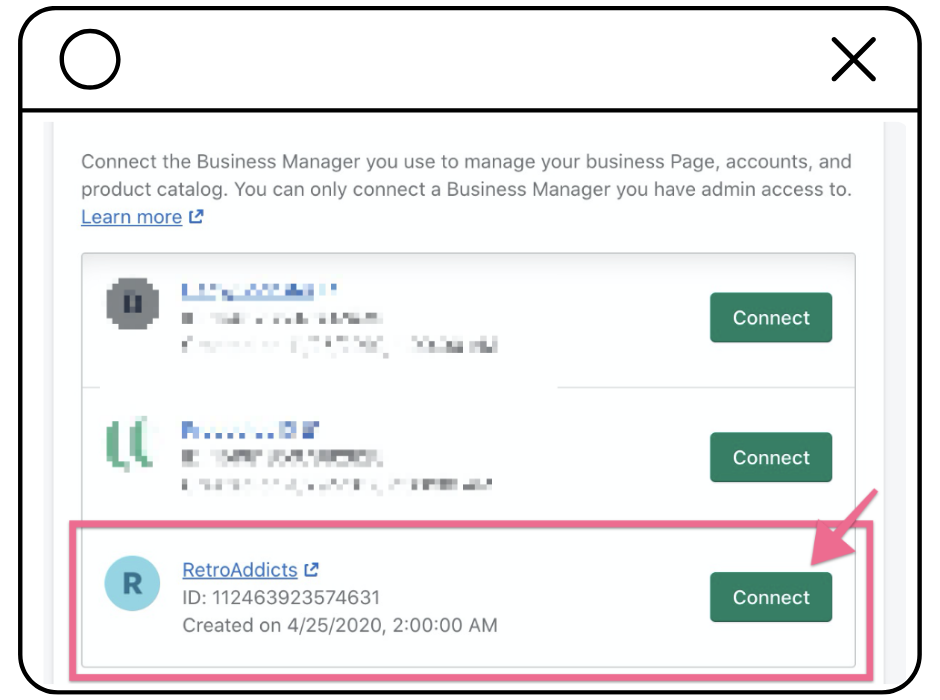
Log into Facebook again and connect your Business Manager and ad account to your Shopify store.
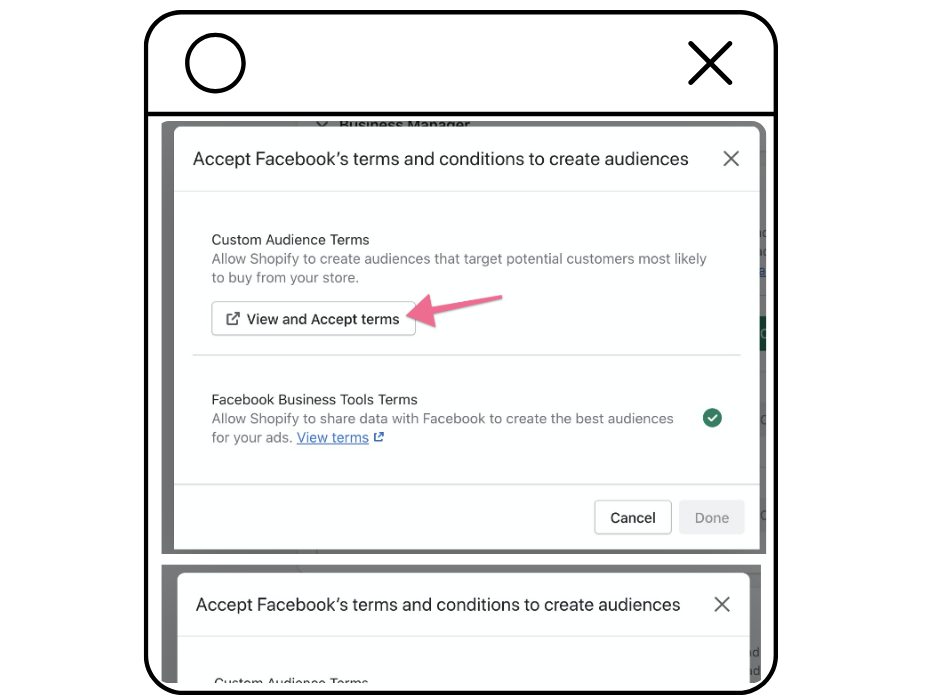
View, read, and accept Facebook’s terms.
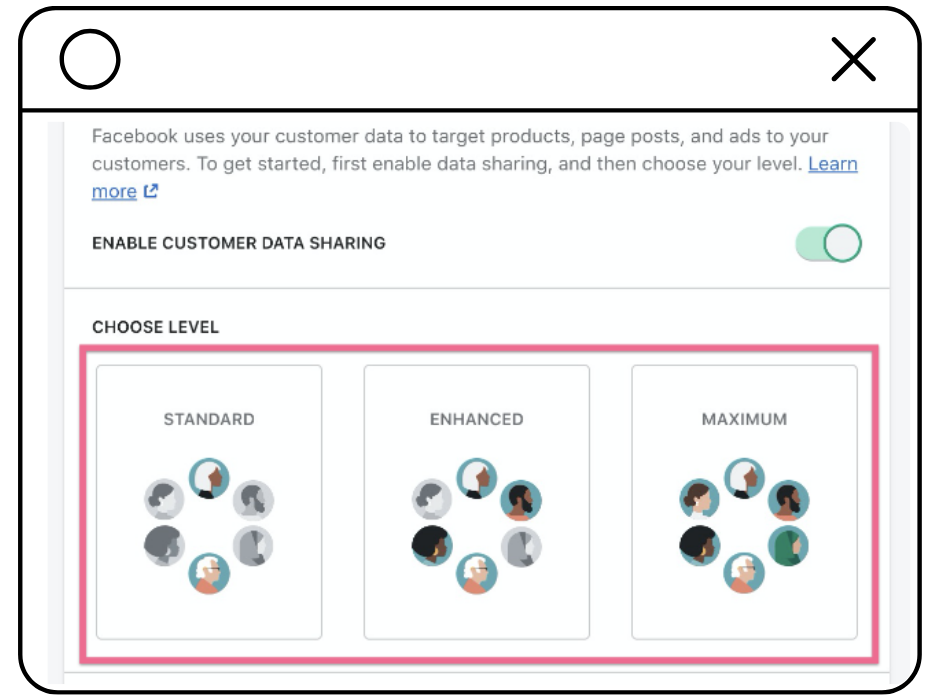
Enable Data Sharing by turning on the toggle.
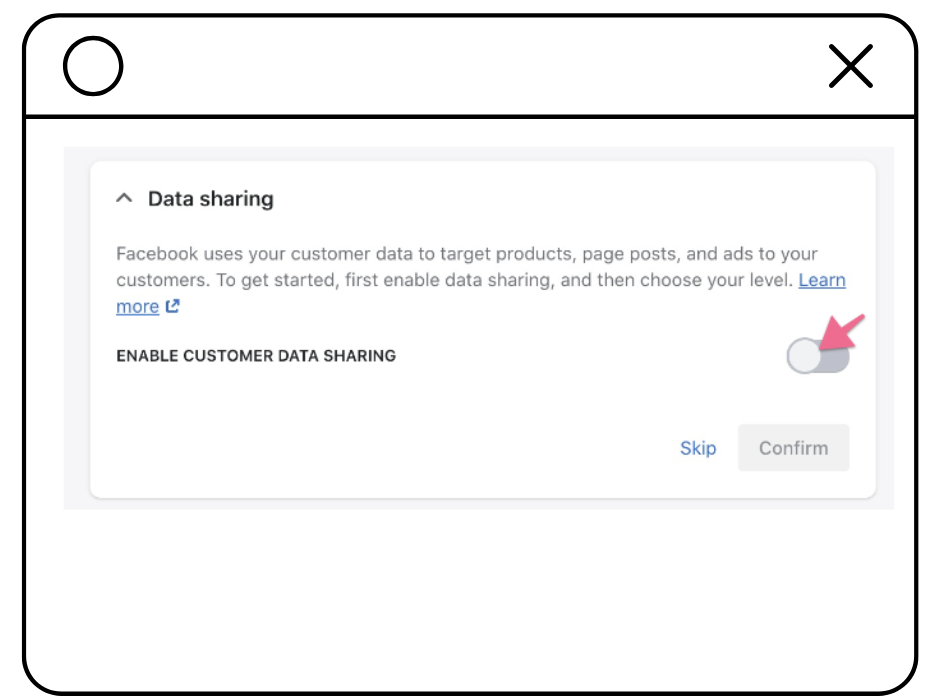
Choose your level of data access. The Maximum level will send purchase events via Facebook's Conversion API. Learn more about data sharing levels here.
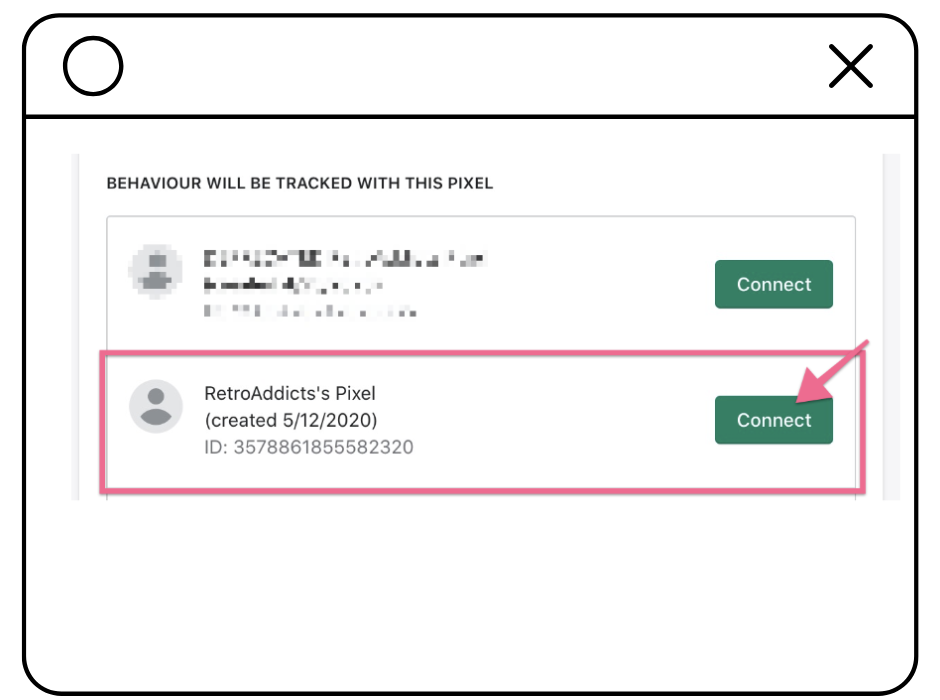
Select the Pixel you want to install and click Connect.
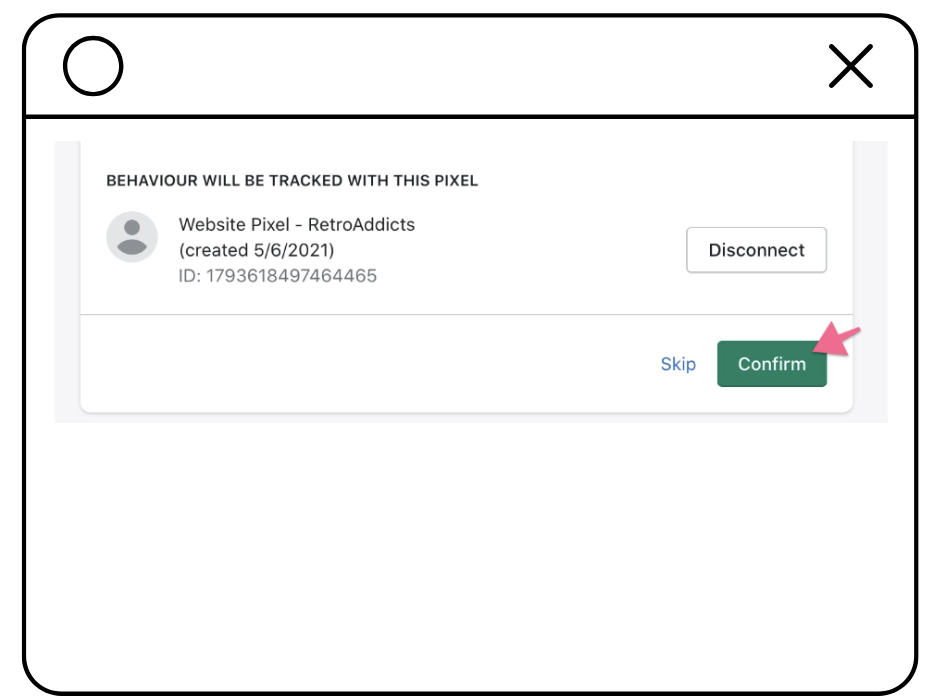
Confirm your selections, accept Facebook's terms, and click Finish Setup.
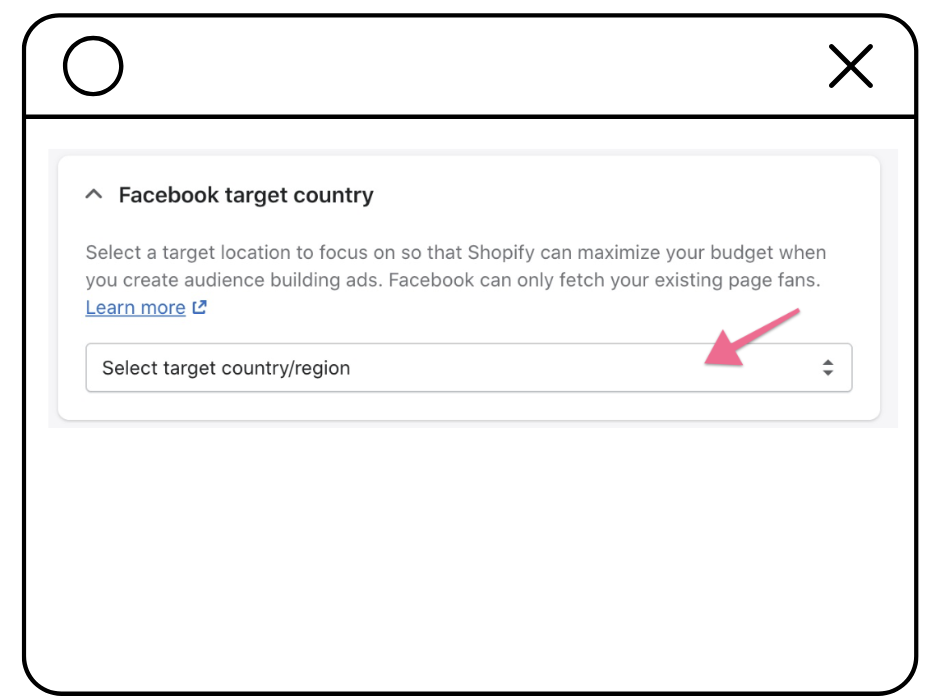
Select your main country of focus from the dropdown.
Accept Facebook's terms, and click Finish Setup.
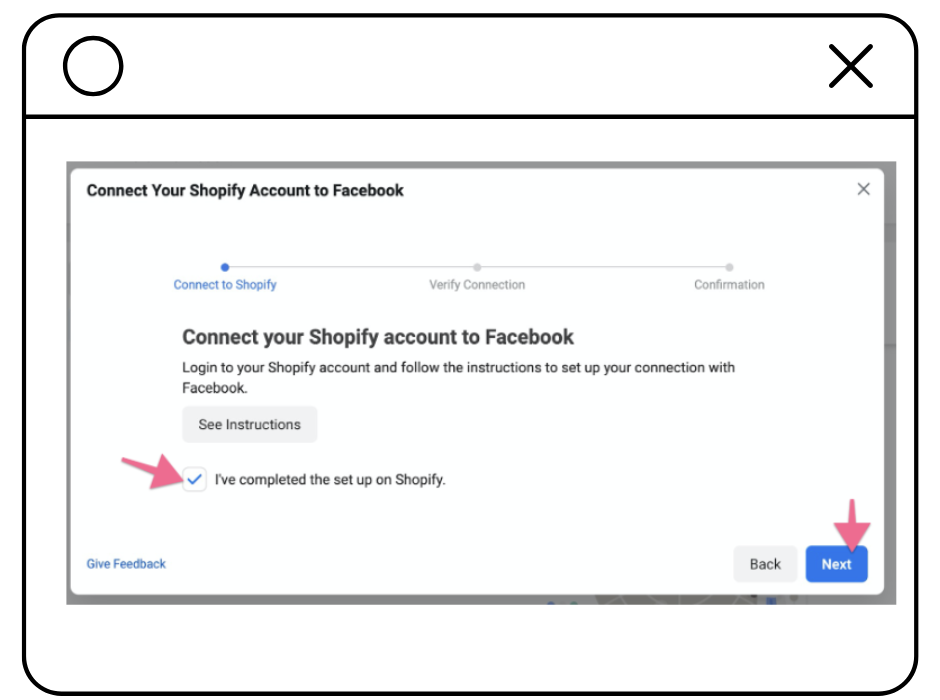
Return to Facebook and check the “I’ve completed the setup on Shopify” box.
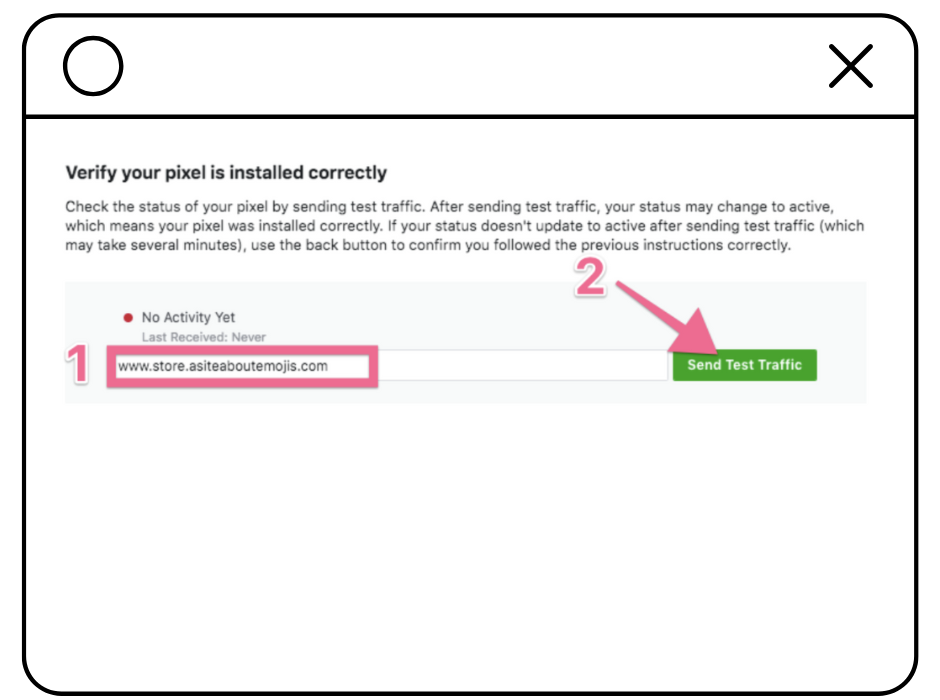
Enter your store’s URL and click “Send Test Traffic.”
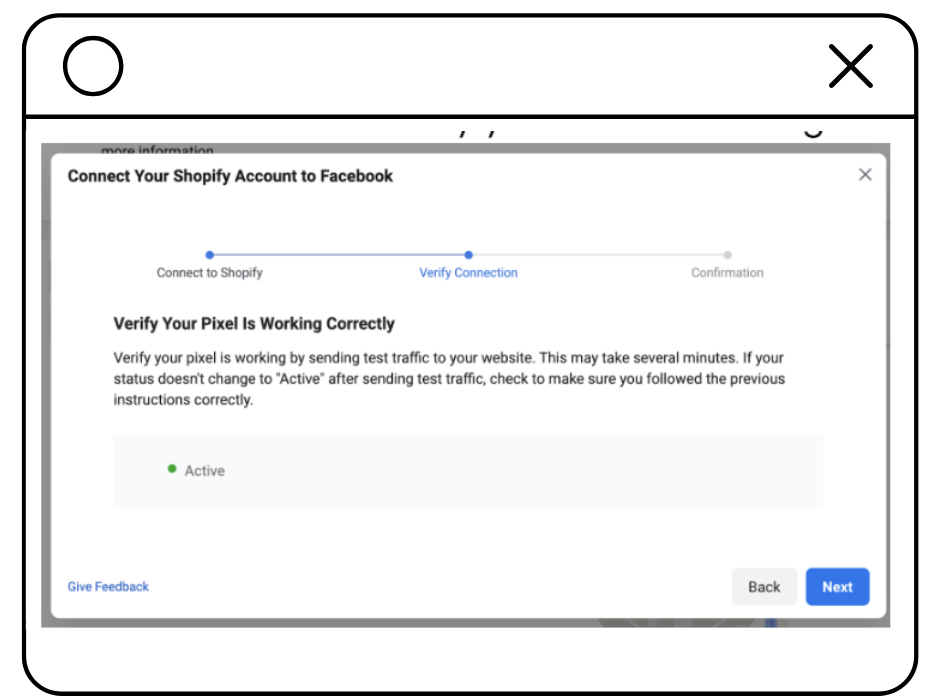
The red dot with the “No activity yet” label will turn green and will show an “Active” status.
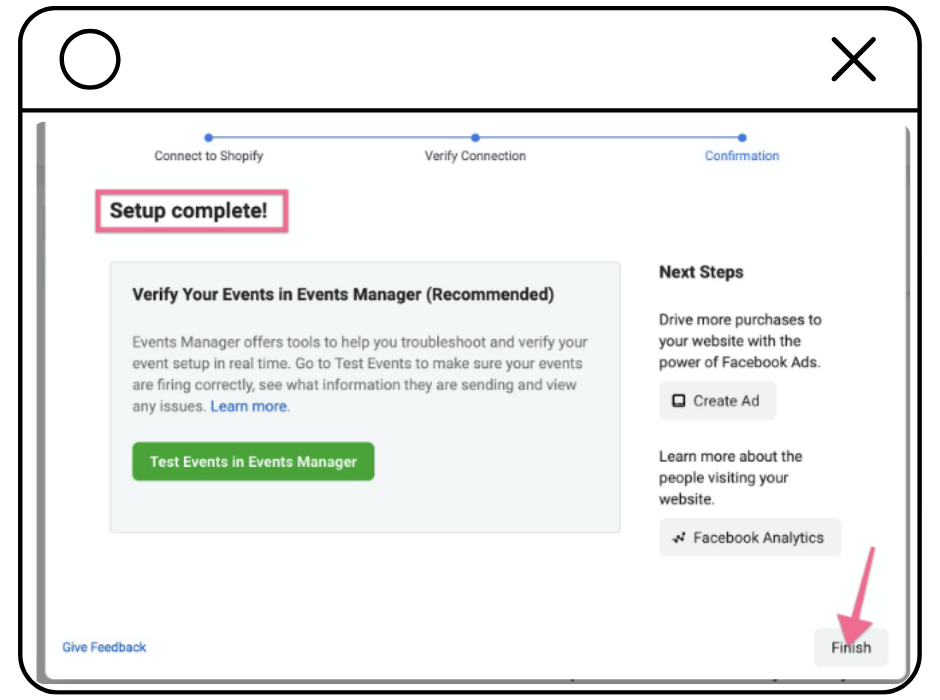
Click “Next” and you’ll see a success message. You can click “Finish”.
That's it!
Step 3: QA the Facebook Pixel
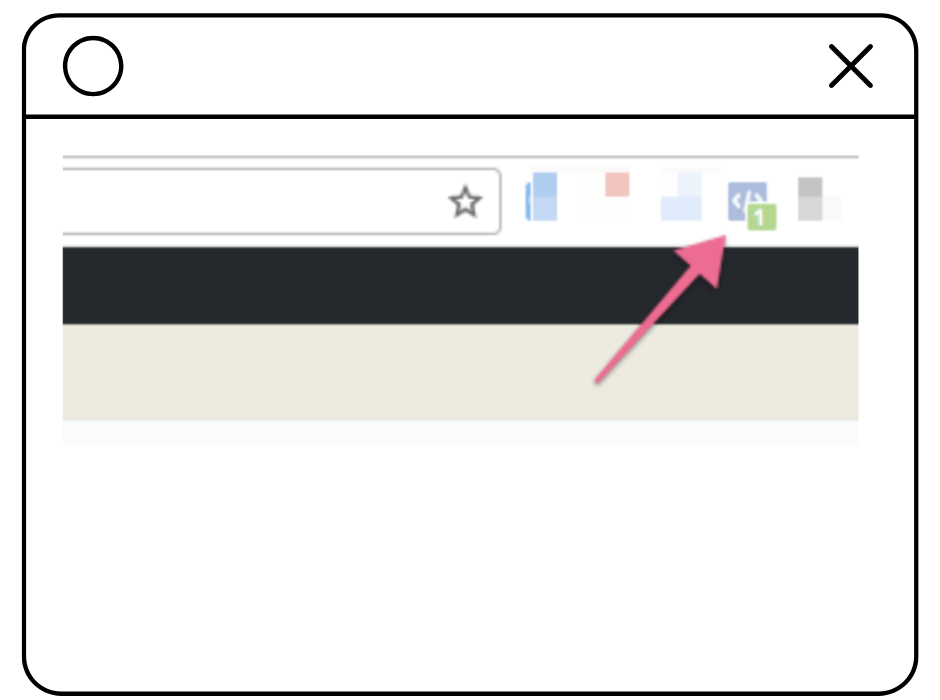
Open your website in Chrome.
-
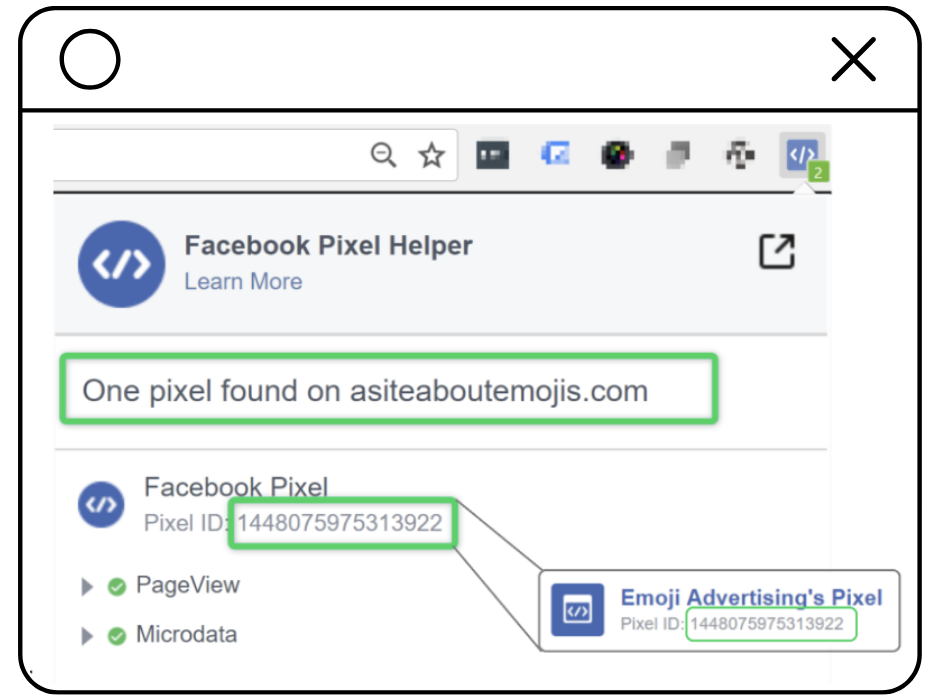
Use the Facebook Pixel Helper extension to verify the Pixel is active.
Now that your Facebook Pixel is up and running, you’re ready to make the most of your Shopify store's data and drive better ad results.
Remember, marketing success is about finding balance—between creativity and strategy, vision and execution.
Need help fine-tuning your digital marketing strategy or setting up advanced tools?
Don’t hesitate to reach out. We're here to help you simplify the complexities of digital marketing.
Read the Next Chapter
How to Add Google Tag Manager to a WordPress Site in 4 Simple Steps

How to Install a Facebook Pixel on Your Website: A Step-by-Step Guide
How to Add a Facebook Pixel to a Shopify Store in 3 Simple Steps
How to Add Google Ads Remarketing Tag to a Website with Google Tag Manager
How to Set Up a Google Business Profile in 3 Simple Steps
How to Optimize a Google Business Profile Listing in 3 Steps
How to Advertise on Google Maps

How to set up TikTok Ads manager account in 3 steps
How to Pick the Right Bid Strategy for Your TikTok Campaign